Reinstalling Magicard Driver
1. Uninstall the existing Magicard driver:
Open the "Control Panel" on your computer.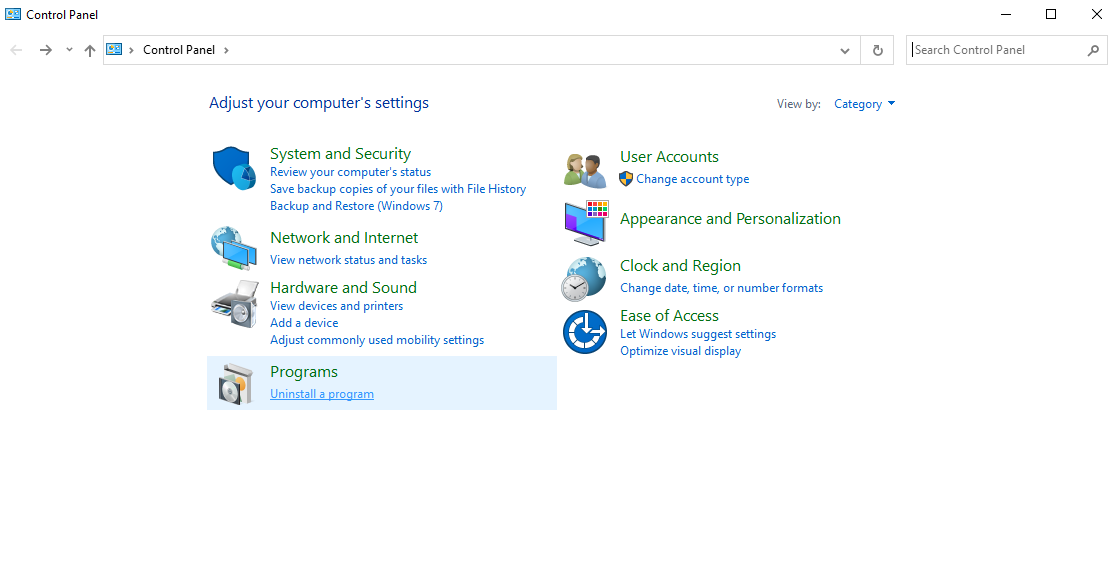
Navigate to "Programs" or "Programs and Features."
Look for the Magicard driver in the list of installed programs.
Right-click on the Magicard driver and select "Uninstall" or "Remove."
Follow the on-screen prompts to complete the uninstallation process.
2. Download the latest Magicard driver:
To download Magicard Driver, click here.
Download the driver to your computer. Make sure to download the correct version for your operating system (e.g., Windows, macOS).
3. Install the Magicard driver:
After downloading the drivers follow the instruction below to install the driver
Click or open the application icon of magicard driver to start the installation
Select the language then click OK button
you will see this after the language selection. Please make sure that the Card Printer are DISCONNECTED from the PC/Laptop or else we can't install properly the drive. Click Next button
Click install button
Select your preferred setup type. In this case we will use the USB connection then click NEXT
Read the end user license agreement then click install
After several minutes of loading this window will appear. You will need to power on the printer and connect the USB cable of the printer to the PC then click the OK button
You will see this window if the driver is installed successfully.
you can go the devices and printers to double check if the printer is installed properly
4. Test the Magicard printer:
After your computer restarts, connect your Magicard printer to the computer using the appropriate connection (USB, Ethernet, etc.).
Ensure that the printer is powered on.
Open any application or software that you use to print with the Magicard printer.
Attempt to print a test page or any document to verify that the printer is functioning correctly.
By following these steps, you should be able to reinstall the Magicard driver and get your printer up and running again. Remember to always use the latest driver version available from the official Magicard website or support page for the best compatibility and performance.
Related Articles
Why is it recommended to allow Thermal ID card printers to rest?
Thermal ID card printers utilize a printing technology that involves the application of heat to transfer dye onto the surface of a card. Preventing Wear and Tear: Extended use without breaks can contribute to wear and tear on the printer's mechanical ...ID Card Printer Do's and Dont's
Do's: Use High-Quality Images: Ensure that the images you use for printing are of high quality. This ensures that the printed cards are clear and legible. Regular Cleaning: Clean the printer regularly to prevent dust and debris from affecting print ...Magicard Tipid Settings - CardExchange version
This settings is for Dual sided Magicard printers only 1. Go to Print tab. 2. Select Printer Properties. 3. In Card Front Tab. Select Color/ composite black (YMC) and check the Print overcoat checkbox. 4. In Card Back. Select Monochrome (K Only). ...Magicard Printer can't print
1. Go to "Control Panel" and find "Devices and Printers" 2. Remove/Unplug your printer's USB from your computer. 3. Right-click your printer in Control Panel and choose Remove device. 4. After removing all Magicard printers, Plug the printer's USB ...MAGICARD ID PRINTER CAN'T DETECT? (step by step troubleshooting guide)
1. Please check the printer if it's turned on. if not, please check if the power cable is not loosen or it is fitted on your power outlet the adapter should have a light indicating that the adapter has a power. if you don't see a light on the adapter ...